Ideal School Editable Photobooth Template

Christopher Bautista
By -
0

Ideal Editable School Photobooth Design


Fresh Green Clean Editable School Photobooth Layout $3 USD
Specification (Green, White, School, Photobooth .PSD format)


Ideal Editable Photobooth Template for School usage, fresh clean and neat editable layout use this design for different special occasions like, reunion, gathering, anniversary and many more. 

Creating an editable school photobooth design can be a fun and engaging way to capture memories. Here's a guide to help you create an ideal editable school photobooth design:

Step 1: Choose a Theme
Decide on a theme that represents your school or the occasion. It could be school colors, mascots, or subjects like science, art, sports, or literature.

Step 2: Design the Backdrop

  1. Select a large backdrop that fits with your chosen theme. It can be a solid color or include patterns, images, or illustrations related to the theme.
  2. Use software like Adobe Photoshop or Canva to create or find editable templates that match your theme. These templates should have placeholders for the students' names or grade.
  3. Incorporate the school's logo or mascot into the design, placing it prominently in the center or as a watermark.

Step 3: Prepare Props

  1. Create props that complement the theme. For example, if the theme is sports, make props like foam fingers, jerseys, or sports equipment. If the theme revolves around literature, create props like book covers or literary characters' masks.
  2. Print the props on sturdy materials like cardstock or foam board. Laminate them for durability, if desired.
  3. Attach wooden dowels or popsicle sticks to the props, ensuring they are securely fastened.

Step 4: Add Customizable Elements

  1. Leave space on the backdrop or props for students to personalize. This can include areas to write their names, class, favorite subject, or future aspirations.
  2. Make sure the customizable elements are large enough for students to write their details clearly.

Step 5: Set up the Photobooth Area

  1. Find a location within the school where the photobooth can be easily accessible to students and guests.
  2. Set up a table or a designated area for the props, along with pens or markers for customization.
  3. Use removable hooks or tape to secure the backdrop.

Step 6: Include Instructions
Create clear and concise instructions on how to use the photobooth. Display signs or posters explaining how to pose, use props, and customize the editable elements.

Remember, the key is to make the photobooth design visually appealing, reflective of the school's spirit, and easily customizable by the students. Enjoy


Senior Prom Photobooth layout

Senior Prom Photobooth layout


Senior Prom Photobooth layout $3 USD
Specification (Night, Sky, Galaxy, School, Photobooth .PSD format)


Sure! Here's a classic and elegant layout for a Senior Prom photobooth:

# Senior Prom Photobooth Layout

## Background:
Choose a luxurious backdrop for your photobooth. Consider using draped curtains, glittering sequin curtains, or a flower wall. Select colors that complement your prom theme.

## Props:
Provide an array of fun and stylish props for the photos. Some popular choices include:

- Hats (top hats, fedoras, tiaras)
- Feather boas
- Oversized sunglasses
- Masquerade masks
- Speech bubbles with witty phrases
- Prom-themed signs (e.g., "Prom King" or "Prom Queen")

## Photo Frames:
Create customized photo frames to enhance the photo booth experience. These frames can be tailored to match your prom theme or school colors. Add the school name, prom date, and a special message for a personal touch.

## Lighting:
Set up flattering lighting to ensure everyone looks great in their photos. Soft, diffused light works well to minimize shadows and create a gentle glow. Consider using string lights or fairy lights for a magical touch.

## Layout:
Arrange the photobooth in an easily accessible area, ensuring there is enough space for people to strike their poses. Place a table nearby with props and the photo frames. Decorate the surrounding area with balloons or streamers to create a festive atmosphere.

## Photographer or Photo Booth:
Decide whether you want a professional photographer or an automated photo booth. A photographer can capture more candid moments, while an automated booth allows guests to take their own photos at their leisure. Consider the budget and preferences of your school when making this decision.

## Sharing the Photos:
Offer a way for guests to receive and share their photos. You can set up a printing station on-site and provide physical copies of the photos. Alternatively, create a digital gallery where attendees can download and share their images on social media.

Remember to have fun and create lasting memories with your Senior Prom photobooth. Enjoy the night!

Feel free to customize the layout based on your specific preferences and prom theme. Have a great time at your Senior Prom!
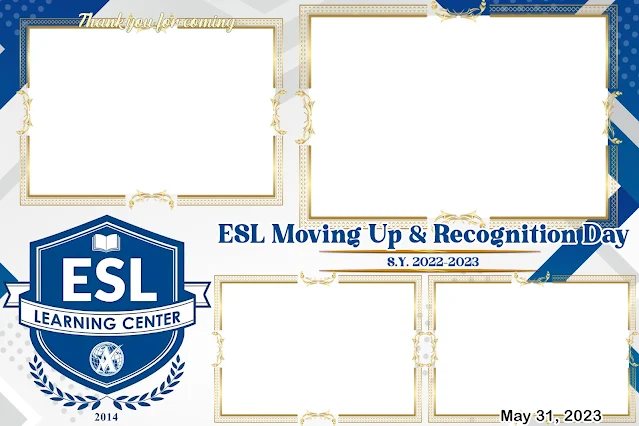

School Photo boot Layout for Recognition Day

School Photo boot Layout for Recognition Day


Post a Comment

0Comments

Post a Comment (0)